Adding Your First Corals: A Beginner Reef Tank Placement & Acclimation Plan
Adding first corals is exciting, but beginners often rush placement and lighting. Use this practical plan to acclimate new frags safely and avoid common losses.
Adding your first corals is one of the best moments in reef keeping—and one of the easiest places to make expensive mistakes. The source video shows a real beginner-style coral add day in a 15-gallon tank, including overnight shipping, drip/acclimation time, and cautious light management. That practical workflow is exactly what many new reefers need.
But there are also gaps beginners should close before following the same process at home. This guide breaks down what the source gets right, what is missing or risky, and a step-by-step checklist you can use before your next coral order.
What the source gets right
1) Start with hardy coral types and manageable frags
The video centers on common beginner-friendly coral choices (zoas, mushroom, LPS frags). That is the right move for a young tank: prioritize corals that tolerate small swings better than delicate SPS. If you’re still stabilizing nutrients and alkalinity, this reduces your risk.
2) Plan placement before opening every bag
Thinking through rockwork “real estate” and where each frag should go is a smart habit. Placement should match both flow and light needs, not just color preference. When you stage placement first, you avoid repeatedly moving stressed frags.
3) Keep lighting conservative on day one
The source intentionally avoids jumping intensity too fast after introduction. That’s excellent beginner discipline. New frags are already dealing with transport stress; sudden PAR jumps can cause recession, bleaching, or persistent refusal to open.
4) Use a straightforward acclimation window
A simple acclimation period before placing corals in the display helps reduce shock. Beginners often rush this step. A short, consistent acclimation routine is better than random, rushed handling.
What’s missing or risky for beginners
1) No visible coral dip + pest prevention protocol
One of the biggest omissions: there’s no clearly documented dip and inspection workflow before frags enter the display. New coral can carry hitchhikers (flatworms, nudis, algae, vermetids, etc.). A dip + visual inspection is usually worth the extra 10–15 minutes.
2) Parameter matching is mentioned, but targets are not operationalized
Beginners need actual guardrails. Before adding coral, confirm salinity and temperature match your display closely, and verify your recent stability trend (not just a single test). A young reef can look fine while still swinging more than coral prefers.
3) Euphyllia spacing and aggression planning
Torch/hammer-style corals can sting neighbors. If you add mixed corals quickly, give aggressive LPS extra buffer space. Many beginner losses come from coral warfare, not chemistry.
4) Flow strategy isn’t fully mapped
“Looks good” flow is not always “healthy long-term” flow. Watch for tissue movement: gentle sway for many softies/LPS, no direct blasting, and no persistent dead spots where detritus accumulates. Placement should evolve over the first week.
Beginner checklist: first coral add day (copy/paste)
Before delivery
- Mix fresh saltwater in case you need an emergency micro-change.
- Prep a clean acclimation container, coral dip, gloves, and frag tools.
- Map likely placement zones by light/flow, not aesthetics.
- Confirm your return/powerheads are running as expected.
At unboxing
- Photograph each frag in bag condition for documentation.
- Float/temperature acclimate first if needed.
- Inspect for obvious pests, damaged tissue, or detached plugs.
- Dip each frag according to product instructions and rinse in clean saltwater.
Placement pass (day 1)
- Start lower/mid placement for sensitive new frags if PAR history is unknown.
- Leave spacing between corals that may sting.
- Keep flow moderate and indirect initially.
- Do not keep handling/repositioning every 15 minutes.
First 72 hours
- Resist major lighting jumps.
- Check polyp extension, tissue recession, and mucus response daily.
- Feed fish normally; avoid drastic nutrient swings from overcorrection.
- Only make one variable change at a time (flow or light, not both).
Week 1 follow-up
- Begin slow light ramp if corals look stable.
- Re-check spacing as heads open and expand.
- Log observations so you can spot trends, not guess.
How to choose your first coral mix
If this is your first order, avoid the temptation to buy only “show” pieces. Build a balanced starter pack:
- 2–3 hardy softies/zoa frags for confidence and visual growth
- 1 mushroom frag for forgiving placement options
- 1–2 LPS pieces once you can maintain steady salinity and temperature
Browse current listings in the zoa, mushroom, hammer, and torch categories and compare condition, pricing, and shipping windows before checkout.
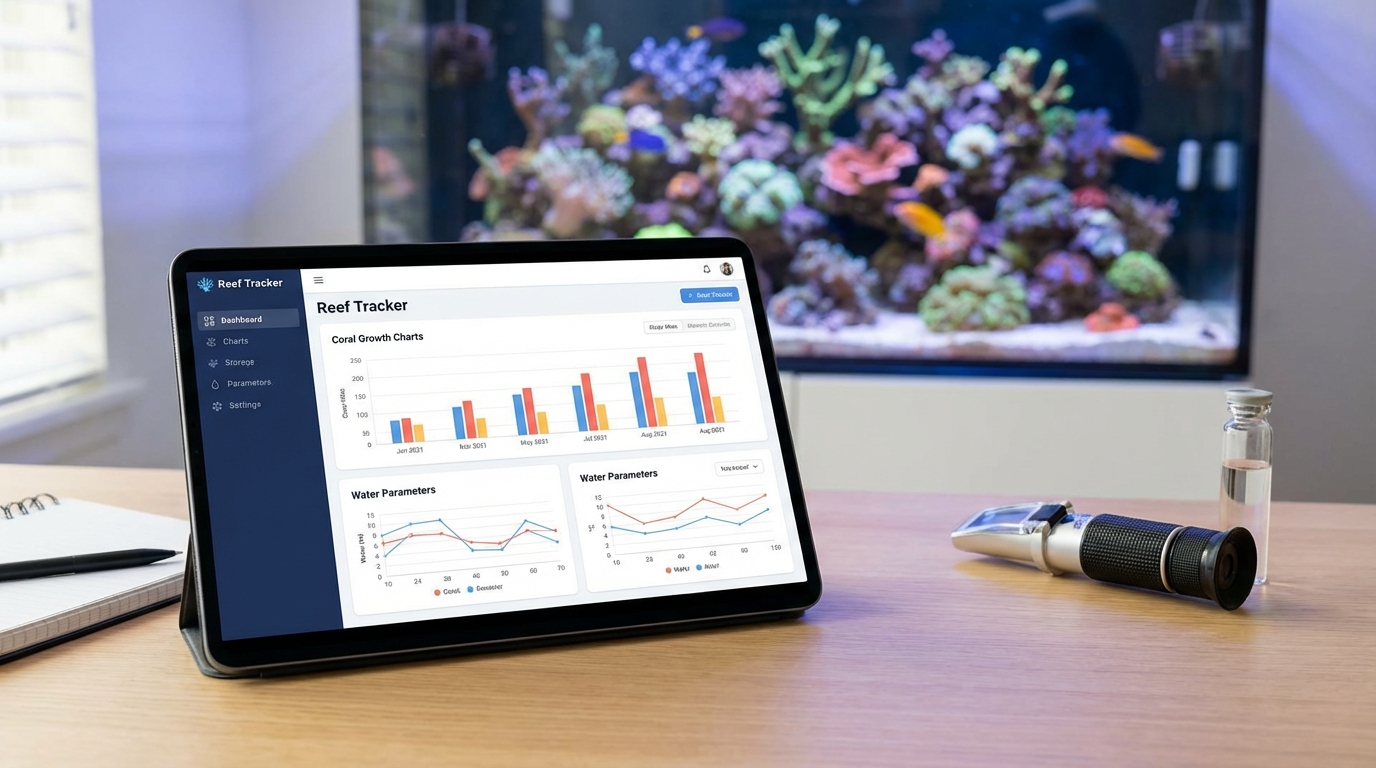
ReefBay workflow: make beginner consistency easier
The best beginner upgrade is consistency, not complexity. Use ReefBay to simplify your routine:
- Find vetted coral listings quickly in the ReefBay marketplace
- Track tank data and notes in the app so you can correlate changes over time
- Use repeatable logs to avoid “I changed five things at once” troubleshooting
If you’re still building your first routine, download the ReefBay app and keep your coral add-day notes in one place for faster learning.
Final take
The source provides a strong, realistic beginner moment: careful first coral additions, conservative lighting, and practical enthusiasm. That foundation is solid. To level it up, add a stricter dip-and-inspection process, clearer spacing rules, and a one-week adjustment plan. Those three upgrades prevent a lot of early heartbreak.
Source attribution: This analysis is based on ReefBay YouTube video “Adding Our First Corals to the Reef Tank!”.